Anaconda Notebooks FAQ#
General FAQ#
What are notebooks and why would I use them?#
Jupyter Notebooks provide a web-based interface for creating and sharing computational documents. You can seamlessly mix executable code, documentation, and instructions in one portable document. Notebooks are not only a great portable learning tool, but also a highly capable vehicle for prototyping and producing data science work.
Anaconda Notebooks lets you skip setup and installation and get straight to learning and writing code.
How do I access Anaconda Notebooks?#
You can access and use Anaconda Notebooks from any modern web browser and anywhere you have an internet connection.
After you have logged into your account on Anaconda Cloud, go directly to nb.anaconda.cloud or click on “Notebooks” from the top navigation bar of Anaconda Cloud.
What do I have access to?#
With Anaconda Notebooks, you get all of the following running on our resilient and supported cloud platform, so you can use it anywhere on any device!
Features |
Free |
Starter |
Business |
Enterprise |
|---|---|---|---|---|
A dedicated JupyterLab notebook interface |
✓ |
✓ |
✓ |
✓ |
Fast, backed-up SSD storage |
5GB |
10GB |
20GB |
Unlimited |
CPU seconds (daily) |
1,000 |
8,000 |
20,000 |
Unlimited |
Published applications |
1 |
4 |
10 |
Unlimited |
Number of Assistant chats per day |
30 |
60 |
120 |
Unlimited |
Conda environments with the most popular python packages |
✓ |
✓ |
✓ |
✓ |
Ability to create and upload your own custom environments |
✓ |
✓ |
✓ |
✓ |
Example notebooks |
✓ |
✓ |
✓ |
✓ |
Is Anaconda Notebooks different from JupyterLab and Jupyter Notebooks?#
Anaconda Notebooks is a hosted JupyterLab service that enables you to run JupyterLab notebooks reliably online. Your dedicated JupyterLab instance comes preconfigured with persistent cloud storage, hundreds of data science packages, and a managed infrastructure.
To launch an instance of classic Jupyter Notebooks, click Help in the menu bar, then select Launch Classic Notebook.
Where can I get support?#
You can get community support on the Anaconda Community forums. If you’re in need of further technical assistance, please file a support ticket.
What packages are preconfigured on Anaconda Notebooks?#
All packages available from the Anaconda installer are preloaded and ready to code through Anaconda Notebooks. More specifically, the service will include environments based on the most recent installers. For example, anaconda-panel-2023.05-py310 is the latest release of Anaconda Distribution and is the default environment within Anaconda Notebooks. As new installers are released, new environments will be available.
Environments currently available:
anaconda-2023-05: Anaconda Distribution
anaconda-panel: Anaconda Distribution, plus everything you need to make Panel Apps
scipy-tutorials: Custom environment for Scipy conference (soon to be deprecated)
anaconda-ai-2023-11: Anaconda Distribution, plus everything you need to learn AI and ML (Coming soon!)
To see a list view of all preloaded packages, launch Anaconda Notebooks and select the anaconda-panel-2023.05-py310 kernel. Once the kernel is activated, enter conda list into any notebook file.
How do I upload a notebook to the service?#
In the Anaconda Notebooks JupyterLab interface, click Upload files in the File Browser to browse for a local .ipynb file. Then, click Open. The notebook will appear in the left-hand menu.
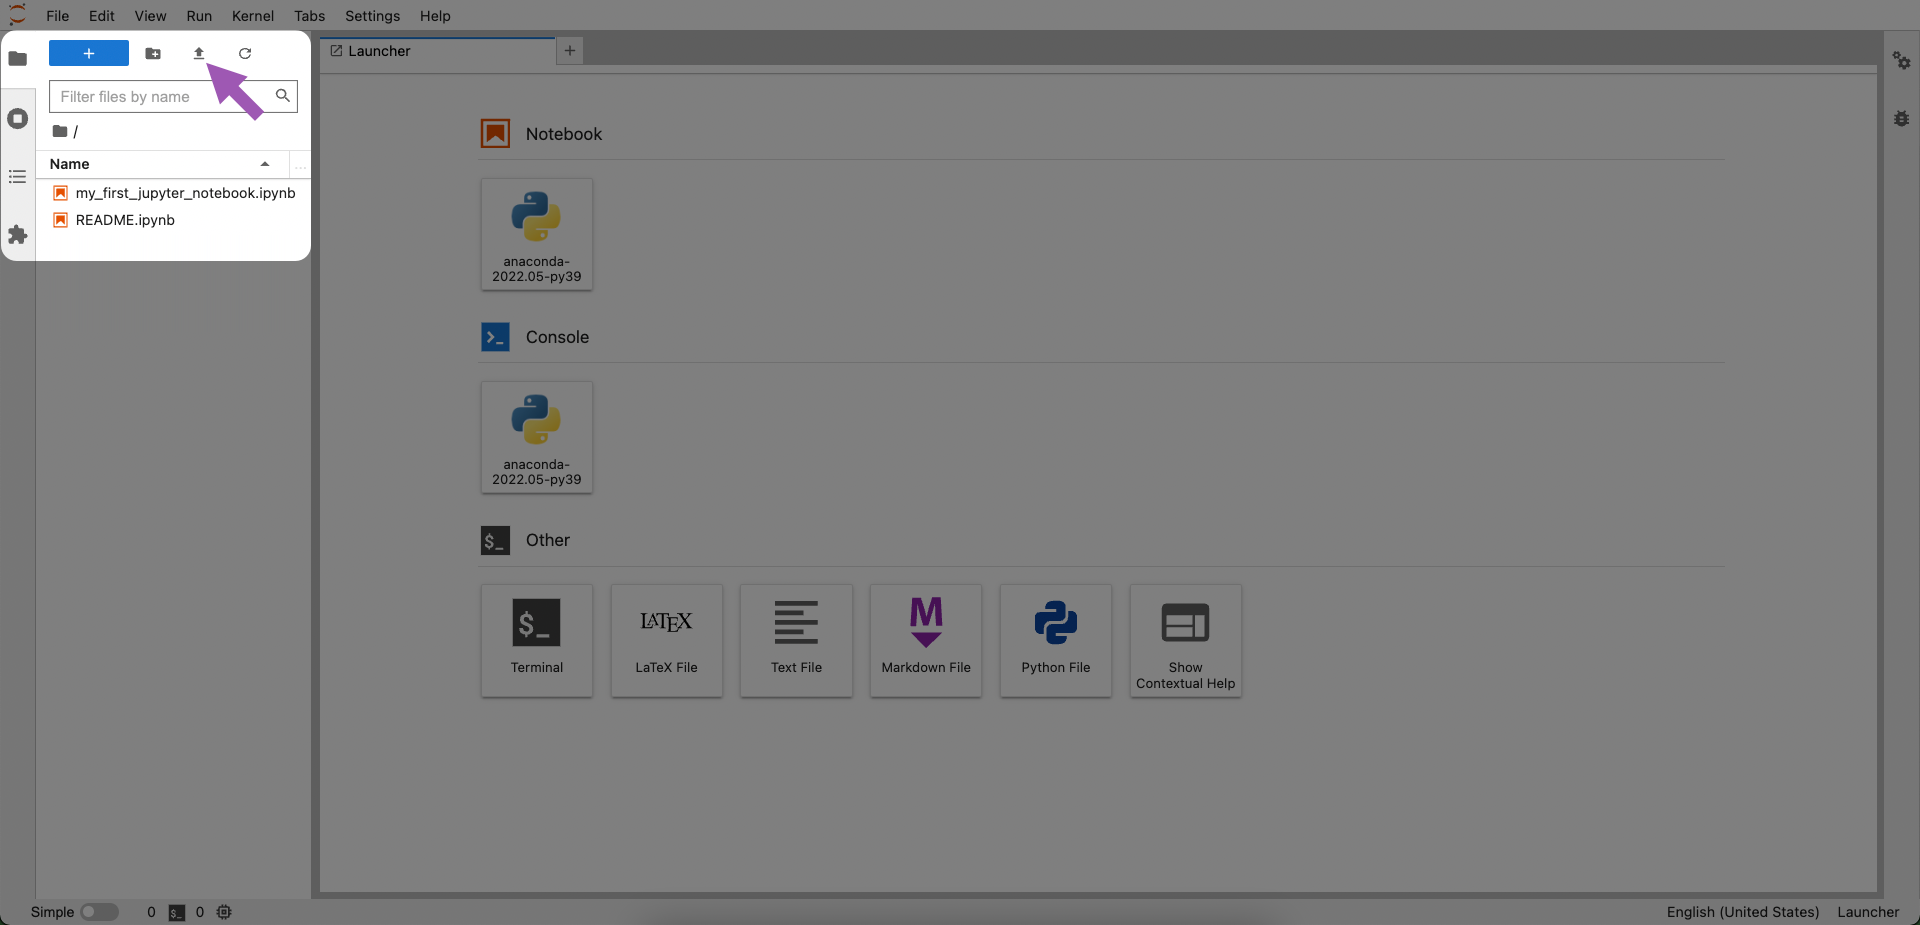
You can also drag and drop a notebook from a folder on your system to the file browser to upload it.
How do I save a notebook?#
Like most IDEs or editors, JupyterLab has the standard “Save” and “Save As…” functions that will save a notebook in your directory on our platform. You can also download a notebook file from the File menu to save it locally.
Can I use packages from the Professional repository in Anaconda Notebooks?#
Packages available from Anaconda Notebooks are a subset of packages available from the free and public repo.anaconda.com repository. Installing packages from the Professional repository via tokenized access is not currently supported.
Can I install new packages or create custom environments in Anaconda Notebooks?#
You can create your own conda environments using any packages that conda can install from repo.anaconda.com. This can be achieved by following the steps in Anaconda Navigator’s Managing environments documentation, or via the command line interface (CLI):
Creating custom environments
Open a terminal from the Launcher in Anaconda Notebooks.
Run the following command to create a custom environment:
# Run this command to create a custom environment running Python 3.9
# Replace <ENVIRONMENT_NAME> with a name of your choosing
conda create --name <ENVIRONMENT_NAME> python=3.9 ipykernel -y
Activating custom environments
After a minute or two, you should be able to activate your custom environment by either:
Clicking the kernel at the top right of the notebook (“anaconda-<YEAR>.<MONTH>-py<PYTHON_VERSION>”), then switching to the kernel of the environment you created in the Select Kernel modal.
Selecting the notebook displaying your custom environment name from the Launcher.
Installing packages
You can then install any further packages you need by running the following:
# Replace <PACKAGE_NAME> with the name of the package you want to install
conda install <PACKAGE_NAME> -y
Note
Custom environments will be stored using your dedicated, persistent Anaconda Notebooks storage. This ensures the custom environment will be available after the current session.
Can I use Anaconda Notebooks for work?#
Anaconda Notebooks alone does not provide commercial compliance to its users. Customers accessing Anaconda Notebooks with subscription tiers Pro and above are permitted to use all Anaconda products for commercial use. For more details, see our Terms of Service.
I have an organization in Anaconda Cloud. How can my team leverage Anaconda Notebooks?#
Registered customers who are part of organizations on Anaconda Cloud can independently access Anaconda Notebooks. Access to Anaconda Notebooks is granted upon member role designation and registration.
Can I control access to Anaconda Notebooks?#
All registered customers can access Anaconda Notebooks. Organization-level features, including user access controls, are coming soon. Stay tuned!
I have a site license. How do I give my members access?#
If you are a customer but have not yet registered your organization on Anaconda Cloud, please refer to this documentation on how to set up your organization and invite members.
How do I create an R kernel?#
Open a terminal from the Launcher in Anaconda Notebooks and run conda create -n test_r r-irkernel -y. The kernel should appear within a few minutes.
What are the pros and cons of publishing on Anaconda Notebooks versus working on PyScript.com directly?#
Publishing on Anaconda Notebooks provides you with a server-hosted app, while PyScript.com offers you a browser-hosted app.
Panel supports both server and browser operation; however, browser-side operations require copying all the data down to the browser, which is impractical when working with large datasets. Additionally, some applications can’t be run browser-side because some libraries use operations that are not available in WASM (e.g. libraries like numba, dask, or pytorch). In other words, it’s a matter of running on the server or running locally in your browser.
Troubleshooting#
I’m failing to connect to my instance of Anaconda Notebooks.#
General connection and spawn issues can usually be resolved by closing all tabs, waiting a few minutes, and reopening Notebooks. Check Anaconda’s status page for ongoing outages.
How do I completely reset my Anaconda Notebooks instance?#
To completely reset (“factory reset”) your instance of Anaconda Notebooks, click anywhere on the Disk Usage meter to open the Manage Disk Usage dialog. Then, click Reset….
See our Data storage and memory topic for further details.
I opened Anaconda Notebooks for the first time today and all my CPU seconds have been used up.#
To prevent your CPU seconds from being used while you are not actively using Notebooks, make sure you shut down all kernels in all open instances of Notebooks before logging off for the day. You can do this from the Running Terminals and Kernels tab:
If the problem persists, please raise the issue in the Anaconda Community forums or file a support ticket.
My notebook is trying to import a package, but I’m getting an error.#
The most common cause of errors is a lack of required package(s) installed in your environment. The default environment we provide, based on the Anaconda distribution, contains hundreds of the most common python packages for data science, but it doesn’t include everything. You may need to create a custom environment to install the package you need.
Here are a couple of steps to help resolve this:
Make sure you have the right kernel/environment selected
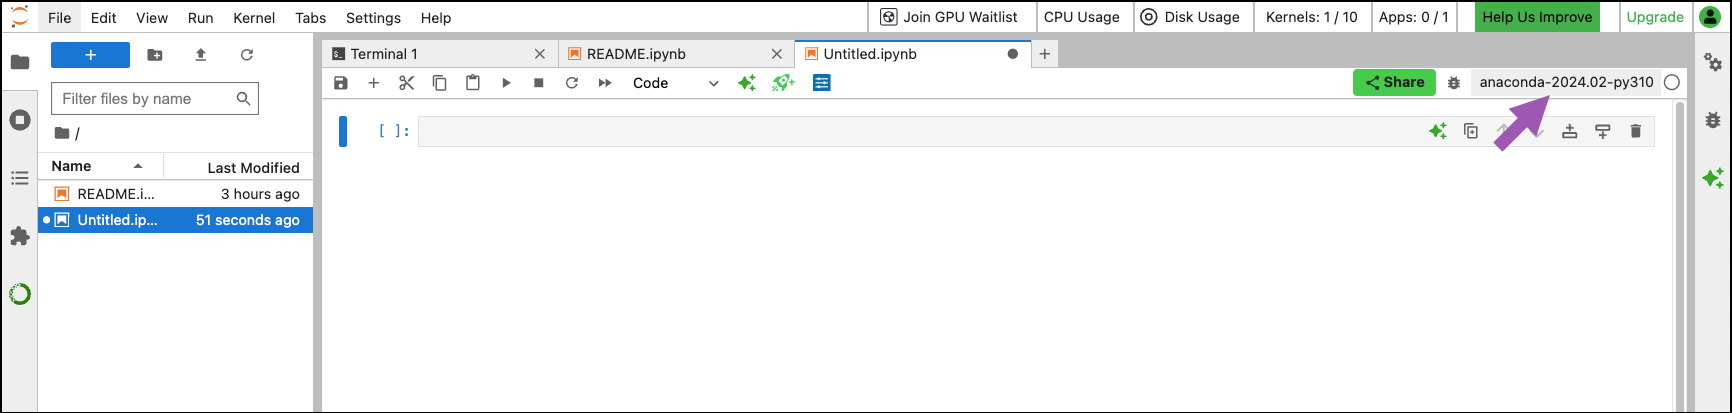
The default anaconda-<YEAR>.<MONTH>-py<PYTHON_VERSION> environments have a broad selection of packages, but you may have created a custom environment for your notebook. Separate environments are represented as “kernels” in JupyterLab. You can view and switch between available kernels by clicking the kernel name in the upper-right corner of the content pane.
List the packages available in an environment
You can view which packages are available in your current environment from the terminal by running the conda list command. If you want to view the packages of a specific environment, run the command conda list -n <ENV_NAME>. If you need to see a list of available environments, you can run the conda env list command. An asterisk will appear next to your current active environment.
Tip
You can run those commands directly in a code cell within your notebook just by adding a “!” to the front of the command (e.g. !conda env list).
Create a custom environment
If none of your existing environments have the right package(s), either install the package into one of your custom environments with conda install <PACKAGE> or create a new custom conda environment with the right packages. You can add new environments via the terminal by running conda create --name <ENV_NAME>.
Once an environment is created, it will be available as a kernel for running your notebook.
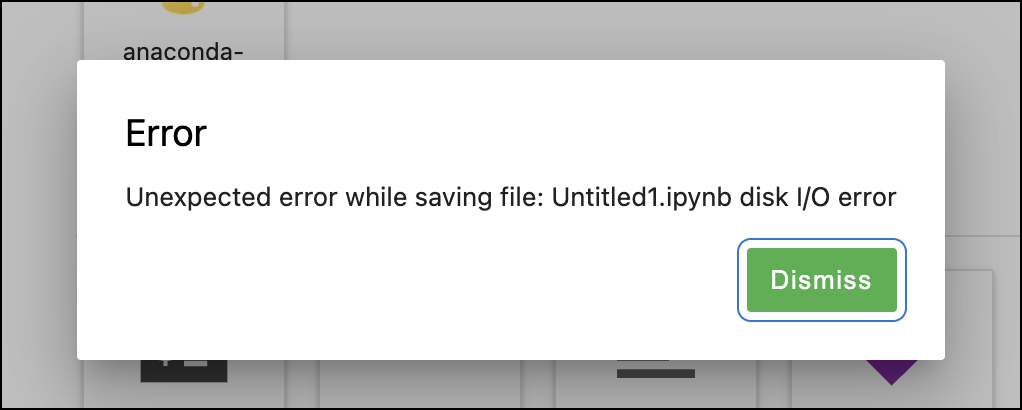
Why am I receiving an error message?#
If you receive a “file load error,” “unhandled error,” or “unexpected error,” like in the following figure, you have most likely exceeded the storage space for your current tier. Follow the steps in the storage question above to remove items from your Notebooks instance, or upgrade to a higher subscription tier.
I’m registered/signed in—why isn’t Notebooks opening?#
Your browser’s pop-up blocker (automatically enabled on Firefox and Safari) may have prevented Notebooks from opening.
Disable your pop-up blocker and try opening Notebooks again from anaconda.cloud.
I have upgraded from the free tier to a paid tier, but I am unable to connect to certain websites.#
Unrestricted internet access is only activated in new Notebooks processes. Therefore, Anaconda recommends shutting down all sessions and restarting Notebooks from anaconda.cloud to get the upgrade.
Note
It may take an hour for the upgrade to take effect.
Why does Anaconda use an allowlist?
Anaconda uses an allowlist to prevent malicious actors from using free accounts to hack into and spam other websites anonymously.
Free tier accounts can only access the websites on our allowlist.
Paid tier accounts have unrestricted internet access, as they can be linked to real people via the payment details.
How can I add sites to the allowlist?
To add new sites to the allowlist, submit a request using the Anaconda Notebooks/PythonAnywhere Allow List Request form. We only add sites to the list if they have an official, public, documented API—that is, sites that are designed and intended for machine consumption rather than human consumption.
Note
GitLab instances: GitLab instances can be allowlisted if they contain public repositories. To add a GitLab instance to the allowlist, provide a link to the public repository in your request.
How do I activate the debugger?#
To activate the debugger, click the bug icon to the right of your active notebook. Learn more about the debugger from JupyterLab’s Debugger topic.