Using the Revision Control Mechanism extension#
The Revision Control Mechanism (RCM) Jupyter Notebook extension provides simple version control for notebook files. It uses the internal Jupyter functionality to perform tasks.
On the surface, RCM uses a simple linear model, but beneath that is a more complex git-based branching model. To prevent merge conflicts, this model uses a “latest wins” policy as its main merging strategy.
The RCM Jupyter Notebook extension adds four buttons:
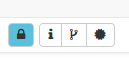
TIP: If you do not see the RCM buttons, see Setting up RCM for the first time.
Using the Status button#
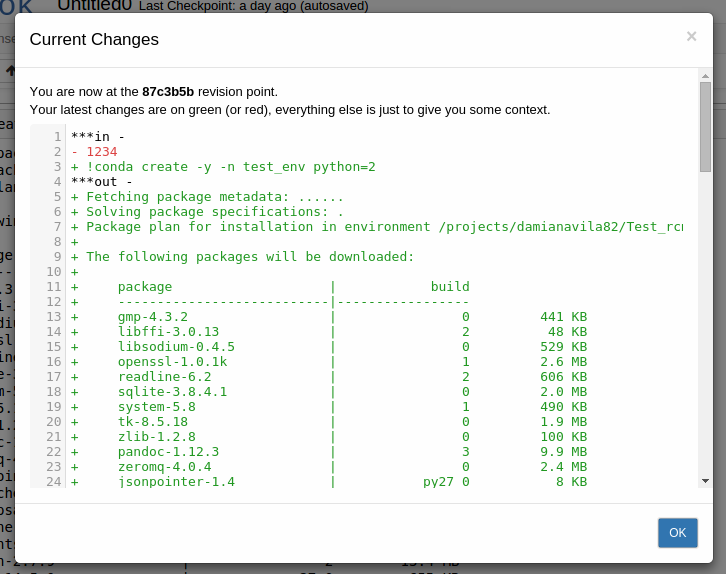
The Status button allows you to see what revision you are on.
Clicking the Status button displays:
Using the Checkout button#
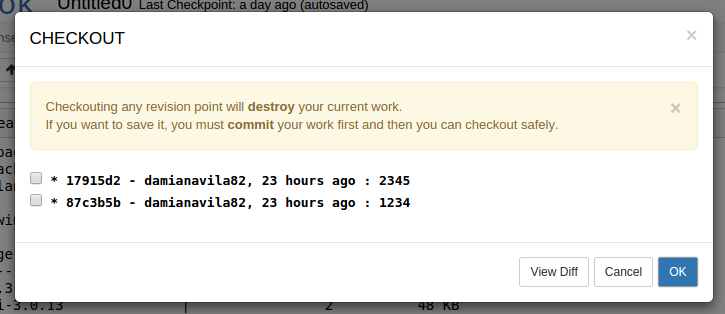
The Checkout button allows you to view a list of the previous revision points, check out a previous revision or compare differences between revisions.
Clicking the Checkout button displays:
Checking out a previous revision#
To checkout a notebook at an earlier revision point:
Select the checkbox next to the desired revision point.
Click the OK button.
A copy of the notebook at the selected revision point is displayed.
NOTE: If you have not saved the work in your current project window, checking out a previous revision destroys it. If in doubt, click the Cancel button and save your work before reverting to a previous revision point.
Comparing revisions#
To compare 2 previous revision points:
Select the checkboxes of the revision points to compare.
Click the View Diff button.
A side-by-side comparison is displayed.
Click the Cancel button to close the differences window.
Using the Commit button#
The Commit button allows you to save or persist the current changes, keeping a permanent record of any changes that are introduced, so that you do not have to worry about losing important data.
Clicking the Commit button displays:
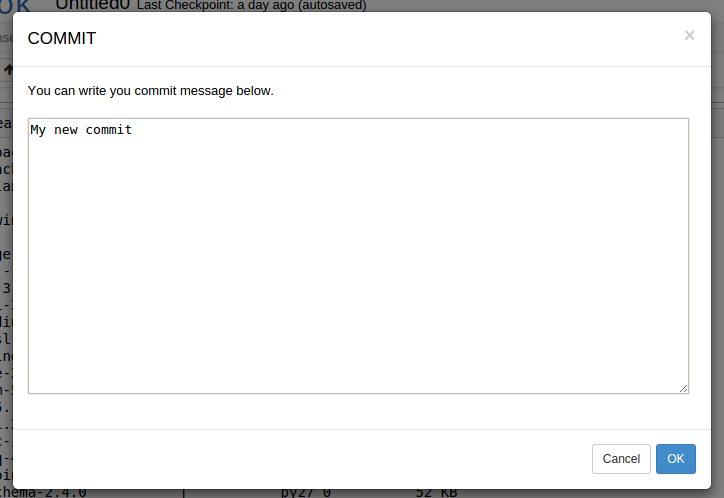
Enter a description of the changes in the commit as a reminder in case you need to revert back to it later.
Click the OK button.
Your changes are committed and a revision point is created.
If Git user name and user email are not set, the following window appears:
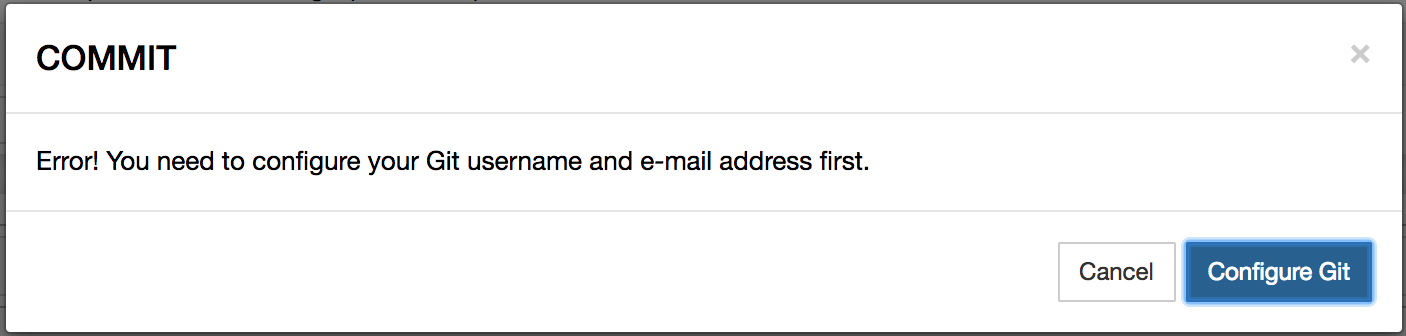
Configure Git and then try to commit again.
TIP: You can roll back committed changes by checking out a previous version.
Using the Configure git button#
The Configure git button allows you to configure Git user name and email values.
After clicking the Configure Git button, the following window appears:
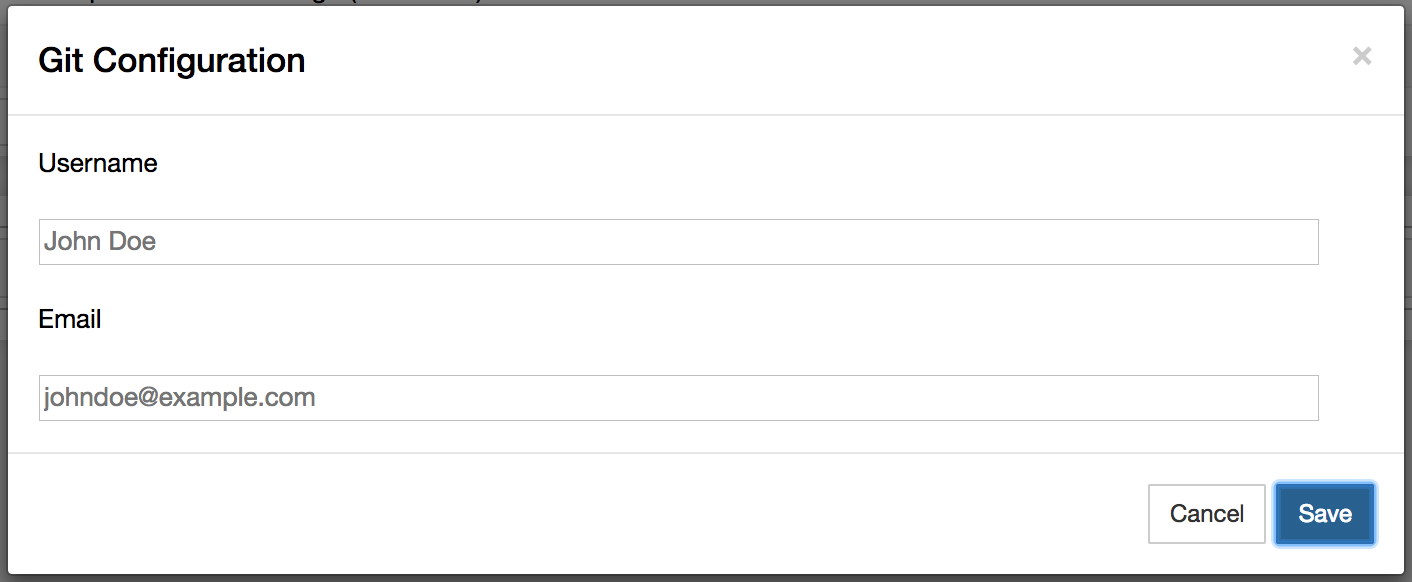
Enter user name and e-mail address. Click the OK button when finished.
Setting up RCM for the first time#
If you do not see the RCM buttons in your notebook:
Go to the project home page.
Open the Terminal application.
In the terminal window, run:
git config --global user.email "[email protected]"
git config --global user.name "Your Name"
NOTE: Change
you@example.comto your email address, andYour Nameto your actual name.Open Jupyter Notebook and refresh the page.